Starting a Community Allotment in Fenland: A Beginner's Guide
How to find land, raise money and organise a community allotment in Fenland, from the first meeting to the...

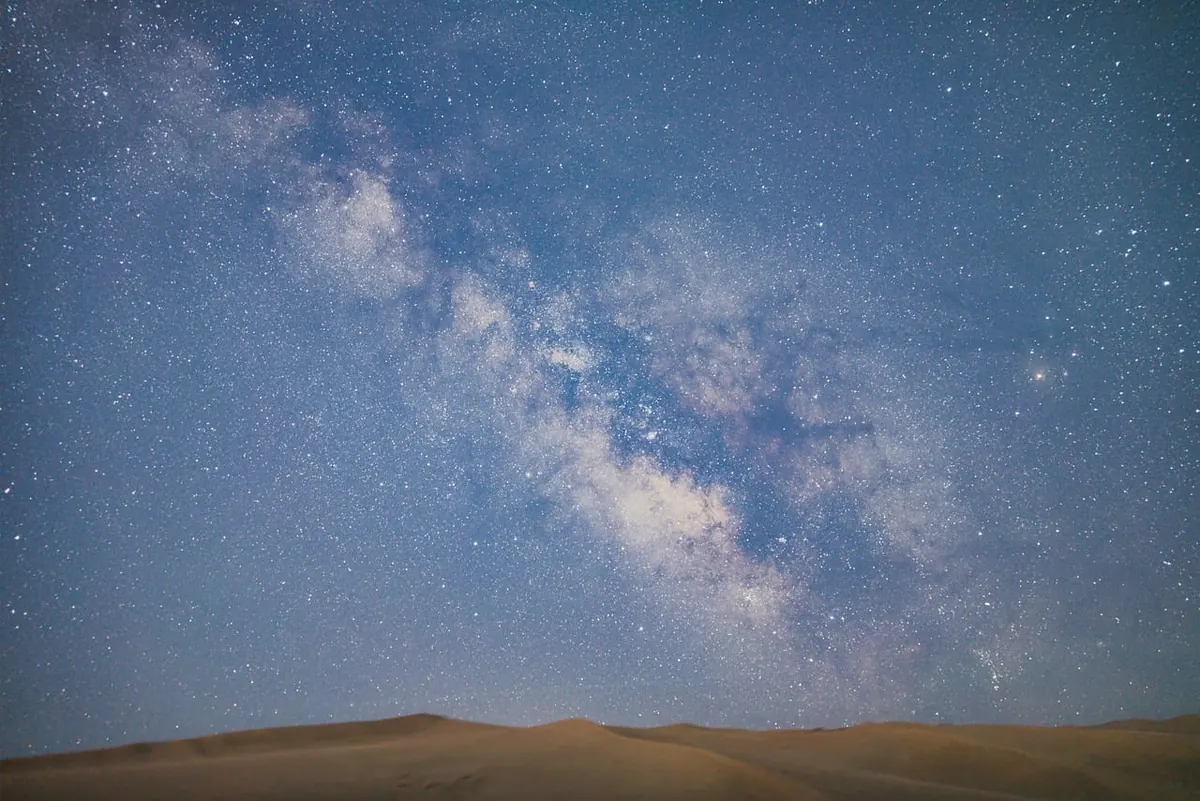
On a clear night in the Fens, the sky does something it rarely manages in town. Away from the streetlights, the Milky Way appears as a pale band across the dark, and the longer you look, the more you see. The landscape helps: flat fields, low horizons, few hills to block the view and long stretches where light pollution fades quickly. You do not need expensive equipment or a degree in astronomy. You need a clear night, a bit of patience and somewhere sensible to stand.
This guide covers where to go across the Fenland area, what to take, what to look at first, and how to stay comfortable while you do it.
Darkness matters more than anything else in this hobby. The Fens have an advantage because settlement is scattered. Between towns such as Wisbech, March, Chatteris and Downham Market, there are stretches of farmland where the nearest lit window is a long way off. That low, flat terrain also means you get an uninterrupted horizon in almost every direction, which is exactly what you want for watching objects rise and set.
The trade-off is that there is little to shelter behind. Wind crosses open fields without losing much strength, and dew forms quickly on cold ground. Dress for weather that feels two or three degrees colder than the forecast suggests.
You do not need an officially designated dark sky site. You need somewhere safe, legal to access and reasonably free of glare. Good candidates include village recreation grounds on the edge of a settlement, quiet lanes with a wide verge, and car parks at nature reserves or country parks where overnight access is permitted. Some fenland nature reserves run occasional evening events, which is a friendly way to start if you would rather not go out alone.
A few practical checks before you commit to a spot:
If you want a benchmark, the darkest skies in England sit well away from here, but you do not need them. A field edge two miles from a market town will already show you several hundred stars on a good night.
Start with what you own. Binoculars you already have in a cupboard will show you more than you expect: craters on the Moon, Jupiter's four brightest moons, star clusters and the brighter nebulae. Anything from 7x35 to 10x50 is a sensible size. Larger binoculars gather more light but get heavy to hold, and shaky binoculars show less than steady small ones.
A small refractor or a modest reflector on a stable mount will serve a beginner well. Aperture, meaning the diameter of the main lens or mirror, matters more than magnification. Beware of any package that advertises enormous magnification figures; those numbers are usually meaningless in practice and the resulting image is dim and blurry. A tripod that does not wobble is worth more than extra power.
The Moon is the best place to begin because it is bright, easy to find and changes every night. Along the line where light meets shadow, known as the terminator, craters and mountain ridges stand out sharply. That contrast is strongest when the Moon is a crescent or half full, not when it is full.
Once you can find your way around a little, these are the objects most beginners come back to:
Learn four things and the rest follows. North is where Polaris sits. The stars rise in the east and set in the west, like the Sun. The sky turns around Polaris once every twenty-four hours, so a constellation you spot at nine in the evening will have moved noticeably by midnight. And the sky changes with the seasons because we are looking out at different directions as the Earth goes round the Sun.
A planisphere, which is a rotating card with a window showing the visible sky for any date and time, teaches this faster than any app. Set it for the date and hour, hold it overhead, and turn yourself until the card's north matches the real north. It feels clumsy for ten minutes and then becomes obvious.
Go out when the Moon is small or absent. Check the cloud forecast a few hours ahead and accept that plans will sometimes fail; in the Fens, cloud rolling in off the Wash can end an evening in twenty minutes. Give yourself at least an hour outside rather than fifteen minutes, because your eyes need time and the best views often come after you have settled.
Take a friend or family member. Two people keep each other warm, share the finding of things and make a dark field feel a lot less exposed. Children often take to this quickly, and a pair of binoculars pointed at the Moon is enough to hold their attention.
Keep a simple log of what you saw and when. Not for anyone else, just for you. Within a year you will have a record of the seasons turning, and you will notice that you are recognising constellations without thinking about it.
Check tide times and access restrictions if your chosen spot is near the coast or a tidal river, and never walk onto mudflats or marsh in the dark. Wear something visible if you are anywhere near a road or a working farm, and let someone know your plans. If you are heading out alone in a remote spot, common sense is the most important piece of kit you carry.
Keep it simple to begin with: a dark lane, a pair of binoculars, a warm coat and an hour to spare. The Fens give you the dark. The rest is just turning up.
Photo: r-q / Pixabay
How to find land, raise money and organise a community allotment in Fenland, from the first meeting to the...
A month-by-month guide to Fenland farmers' markets, from spring rhubarb and asparagus to autumn potato...
A practical Fenland guide to spotting invasive plants and animals in local drains and rivers, recording...